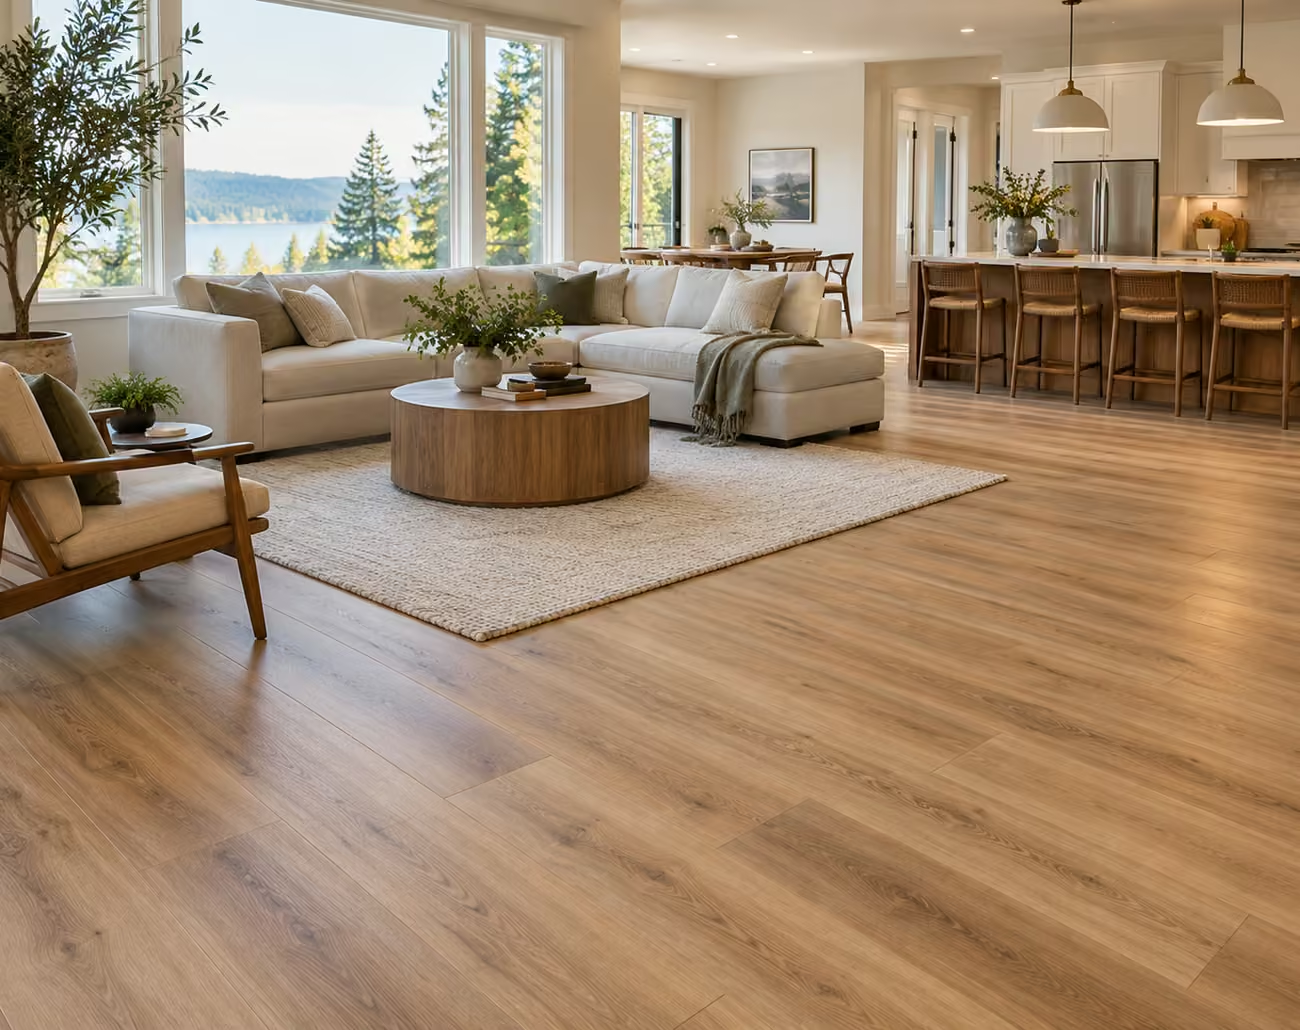
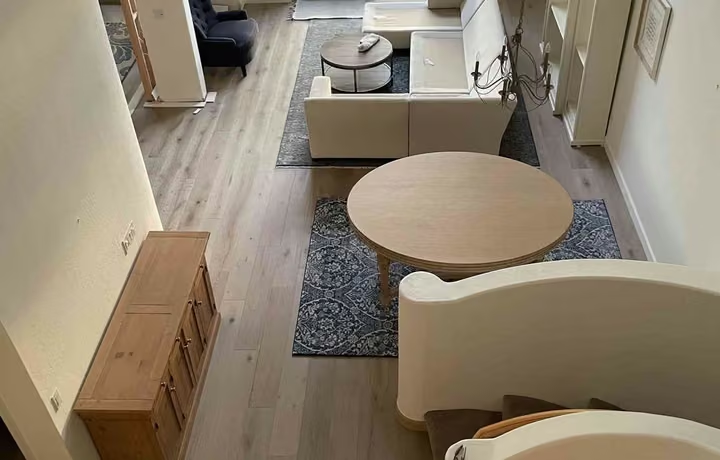
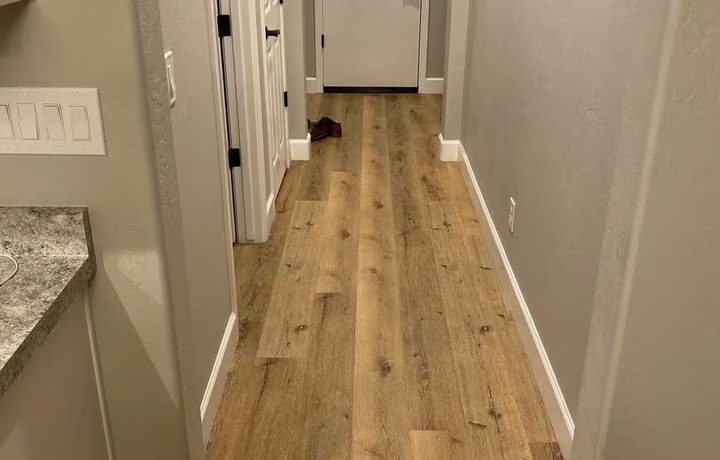
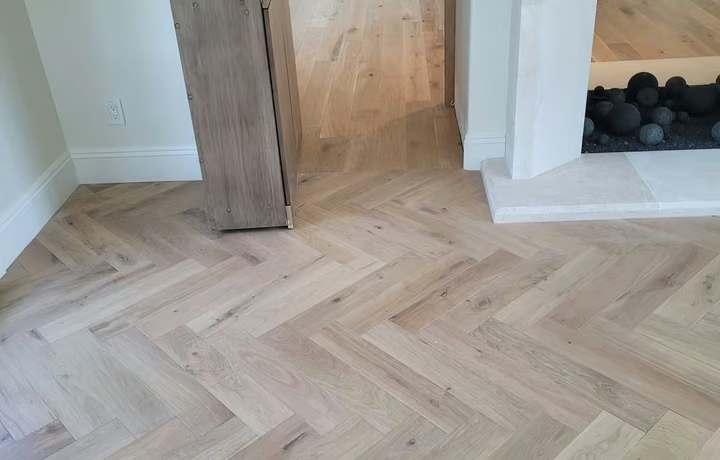
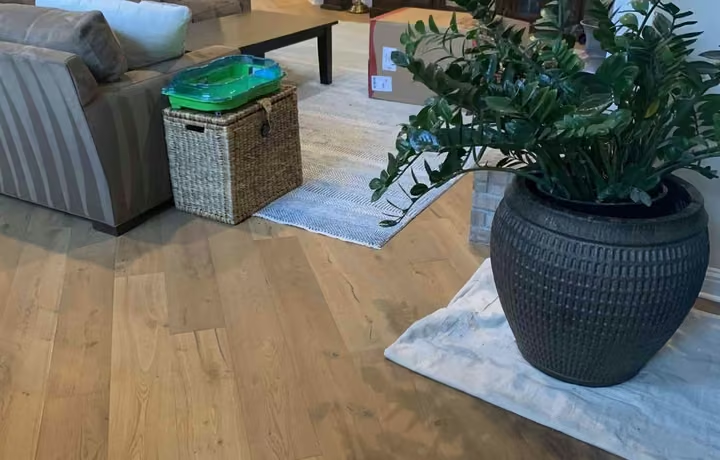
Professional LVP installation in Bellevue, Seattle, Kirkland, Everett, Lynnwood, Edmonds and nearby communities. We bring samples to your home, measure, prepare the subfloor and install your new floor.
Full-service installationPreparation through cleanup
Family-owned
Local Flooring Company Since 2013
Wills Flooring was started by Oleg in Lynnwood in 2013 and is still family-owned. From our Everett showroom, our team helps homeowners across King and Snohomish counties choose flooring, prepare their homes and finish the installation with care.
We discuss who will handle the work, the product and preparation required, and the details of your written scope before installation begins. You can verify a Washington contractor’s current registration, bond and insurance through the state Labor & Industries contractor lookup.
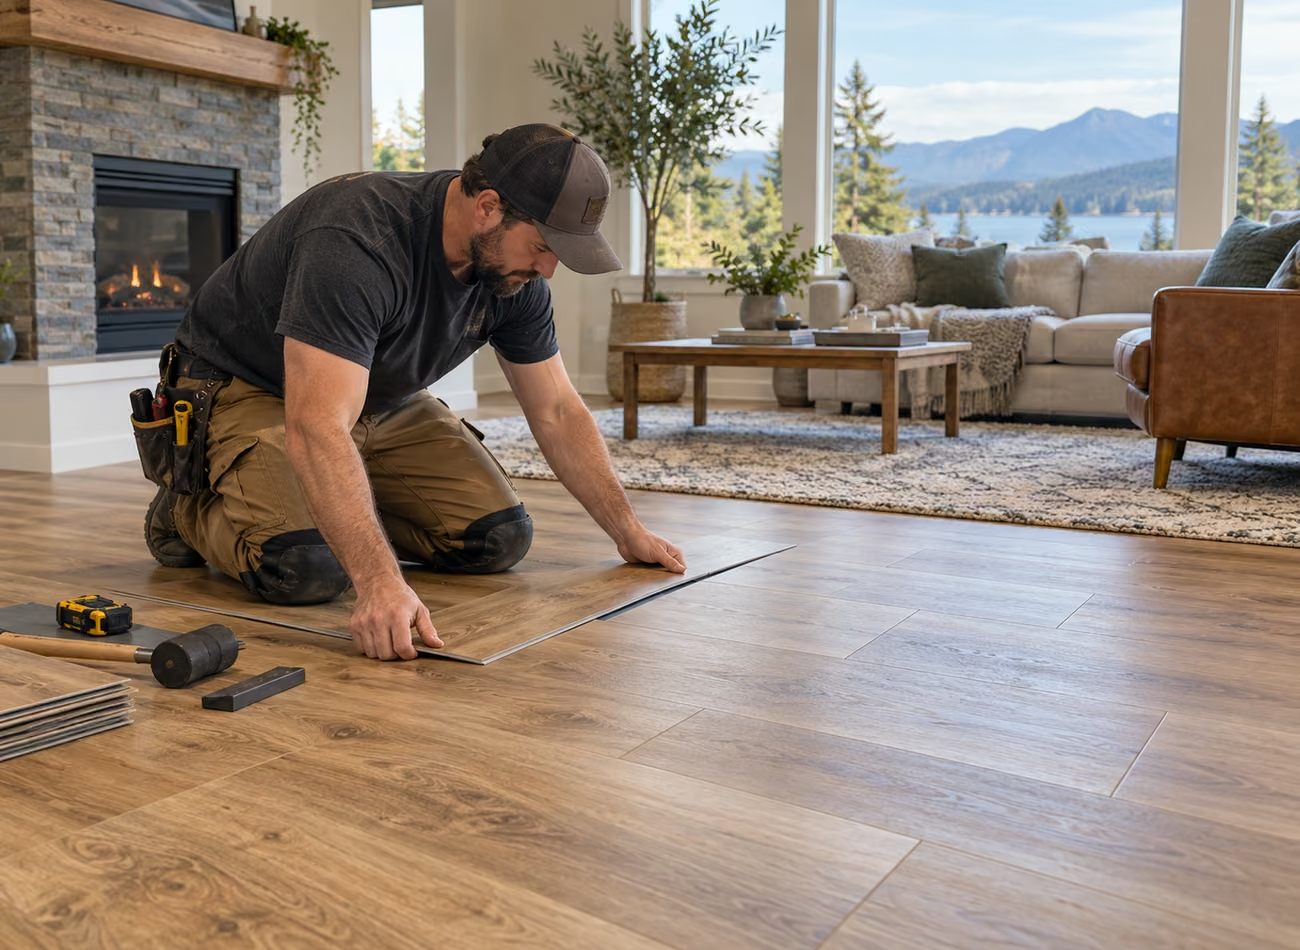
Vinyl plank installation fits luxury vinyl planks over a prepared subfloor using the method specified for the selected product. Wills Flooring measures the rooms, checks moisture and flatness, and includes the agreed preparation, transitions and trim in a written scope.
We check moisture and flatness against the selected product’s limits, identify loose or damaged areas, and plan compatible patching or leveling. Preparation includes the required drying time, door-jamb clearance, and a final sweep and vacuum before planks are laid.
Existing floor removal
We can remove carpet, laminate or other flooring as part of your project.
Precise LVP installation
We plan the first and last rows to avoid narrow strips, stagger end joints to the product’s requirements, and fit cuts around doorways and fixed objects. The plank construction determines the cutting and locking method. Door jambs are undercut where appropriate, with the required expansion clearance maintained.
Trim & final cleanup
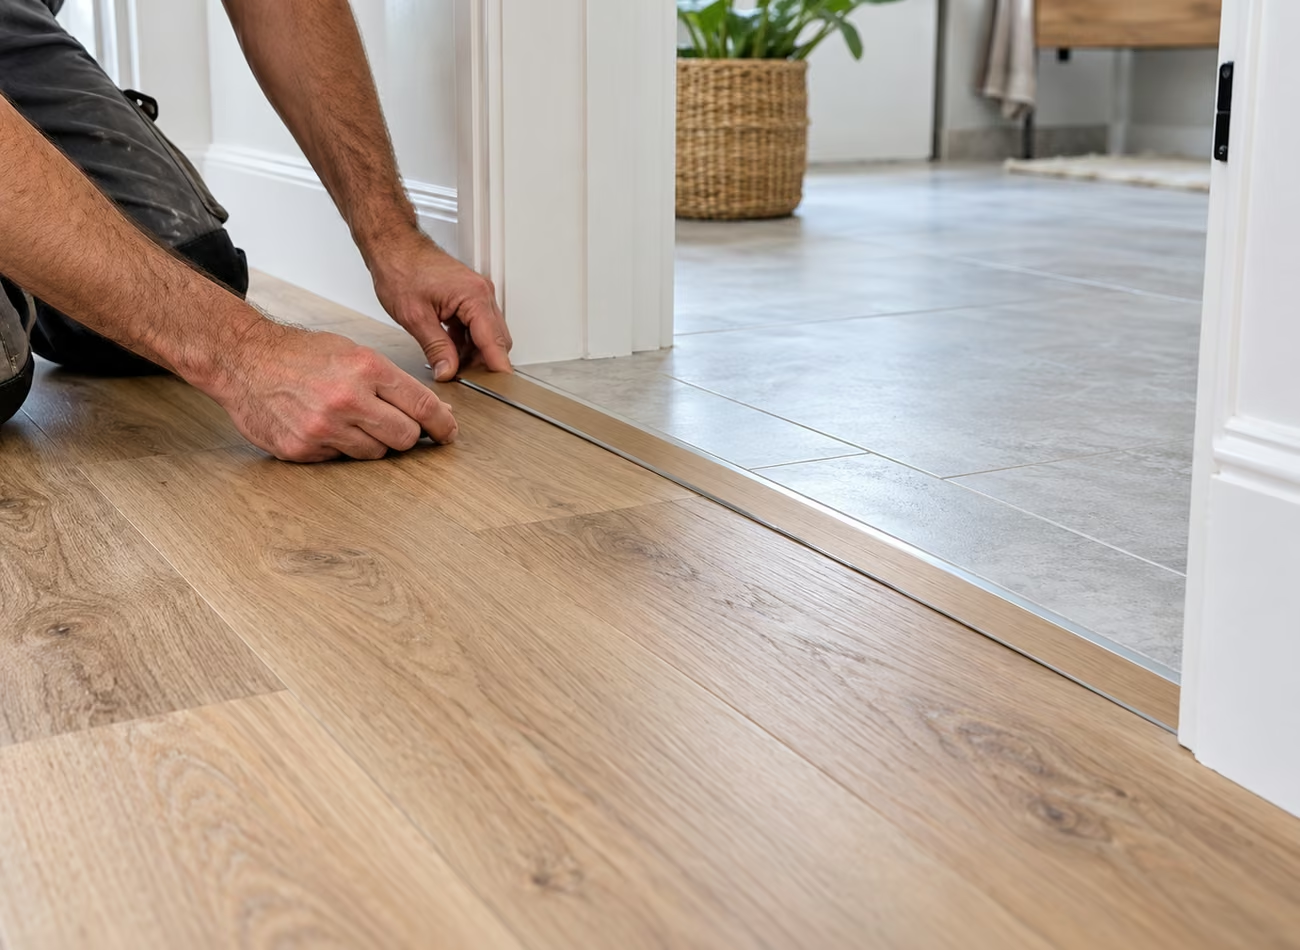
We cover the required perimeter clearance with agreed baseboards or shoe molding, and fit product-compatible transitions such as T-moldings, reducers or stair nosing where the layout calls for them. We finish the visible edges and remove installation debris; your written estimate identifies the trim and cleanup included.
Shop at home
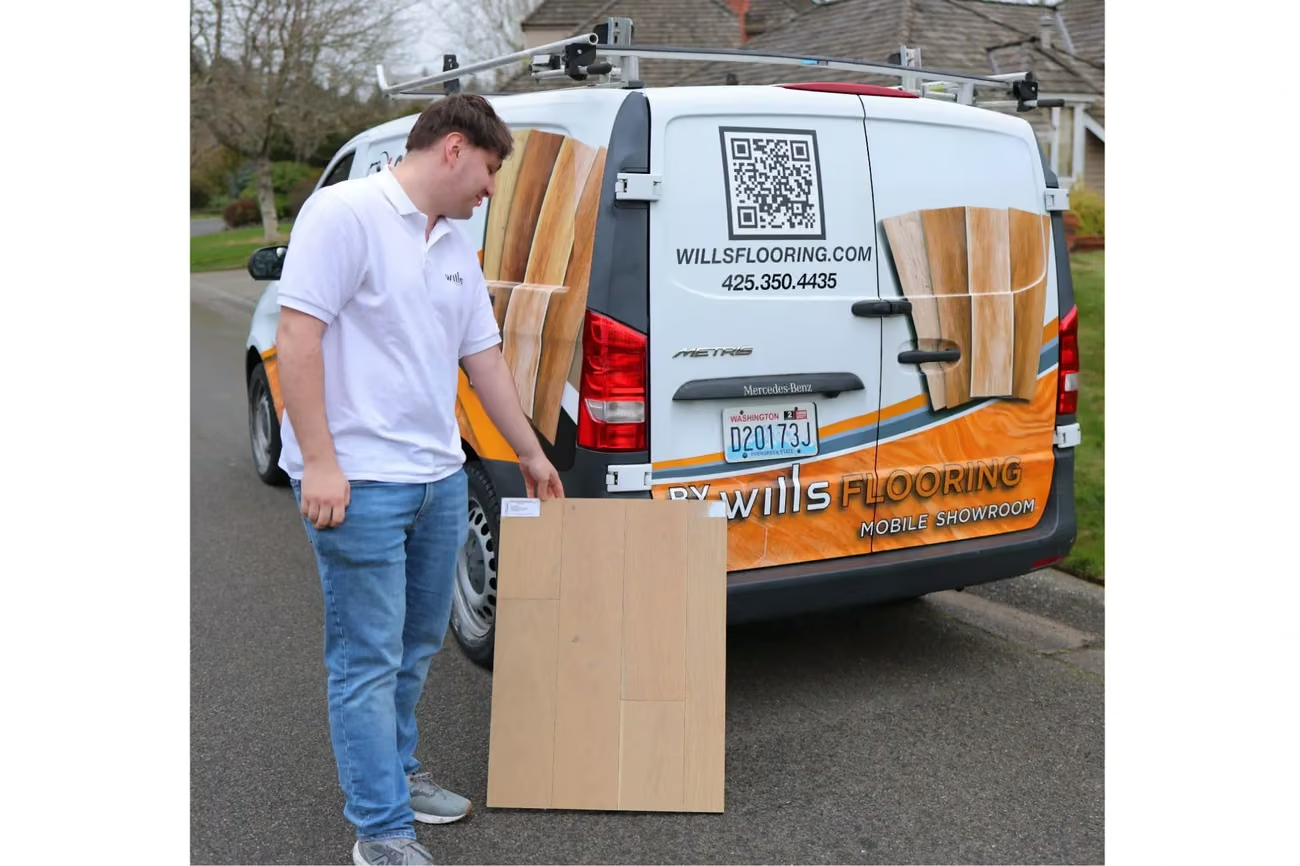
Mobile Flooring Showroom See LVP Samples in Your Own Home
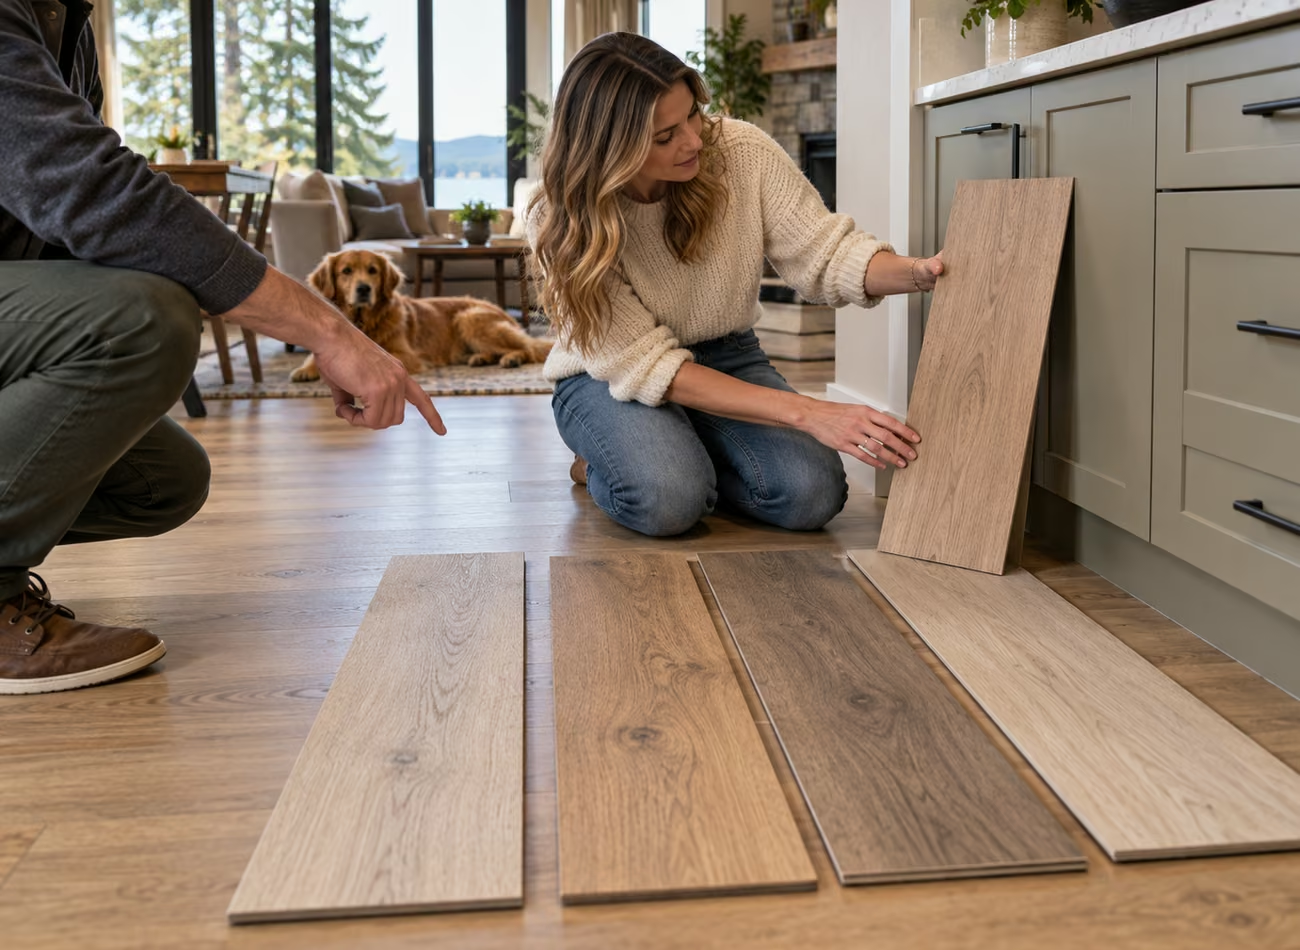
Compare flooring against your cabinets, furniture and natural light. We bring samples, measure your rooms and prepare a clear estimate for your project.
Our mobile showroom brings flooring samples to your home.Compare samples where the new floor will be installed.
Choose a floor in your own light.
Bring the decision home: see how color and texture work with your walls, cabinets and furniture.
We tailor the work to the home and the flooring you choose.
Existing flooring and carpet removal
Subfloor inspection and preparation
Leveling or repairs where needed
Underlayment when required
Plank layout and installation
Door jamb and casing cuts
Transitions between rooms
Stair and nosing work, if applicable
Baseboards or quarter round
Debris removal and cleanup
Furniture or appliance coordination
Final walkthrough
Details like transitions and trim complete the room.
Your written estimate will show exactly what is included for your project.
A better foundation
A Beautiful LVP Floor Starts With a Flat Subfloor
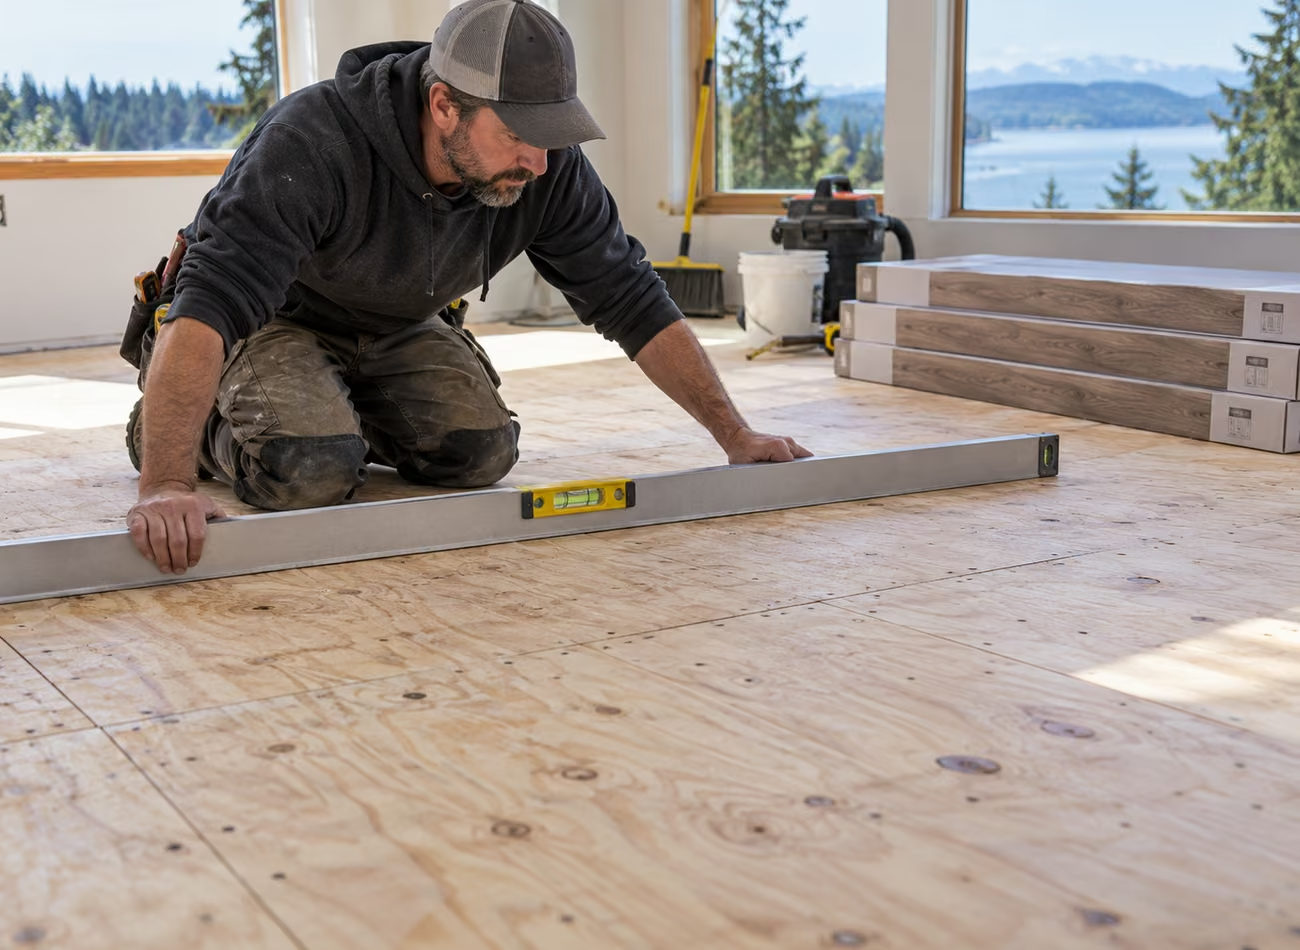
Plywood and concrete can hide high spots, low spots and moisture concerns. We check flatness and the moisture conditions required by the selected LVP, then explain suitable corrections. Preparation may include reducing high spots, filling low areas with a compatible patch or leveling product, and addressing loose or damaged subfloor areas. Preparation products need their required drying time before installation. The surface must be clean, dry and structurally sound; dust and debris are removed before planks go down. Necessary preparation and moisture measures are listed in the agreed written scope.
Proper fit starts with the surface underneath.
The right fit
Why Homeowners Choose Luxury Vinyl Plank
Water resistant
A practical choice for kitchens, entries and busy households when installed to the product’s requirements.
Built for daily life
Wear layers help handle foot traffic, pets and everyday activity.
Easy to care for
Routine cleaning keeps most LVP floors looking their best.
Styles and value
Explore wood-look colors and textures at a range of price points.
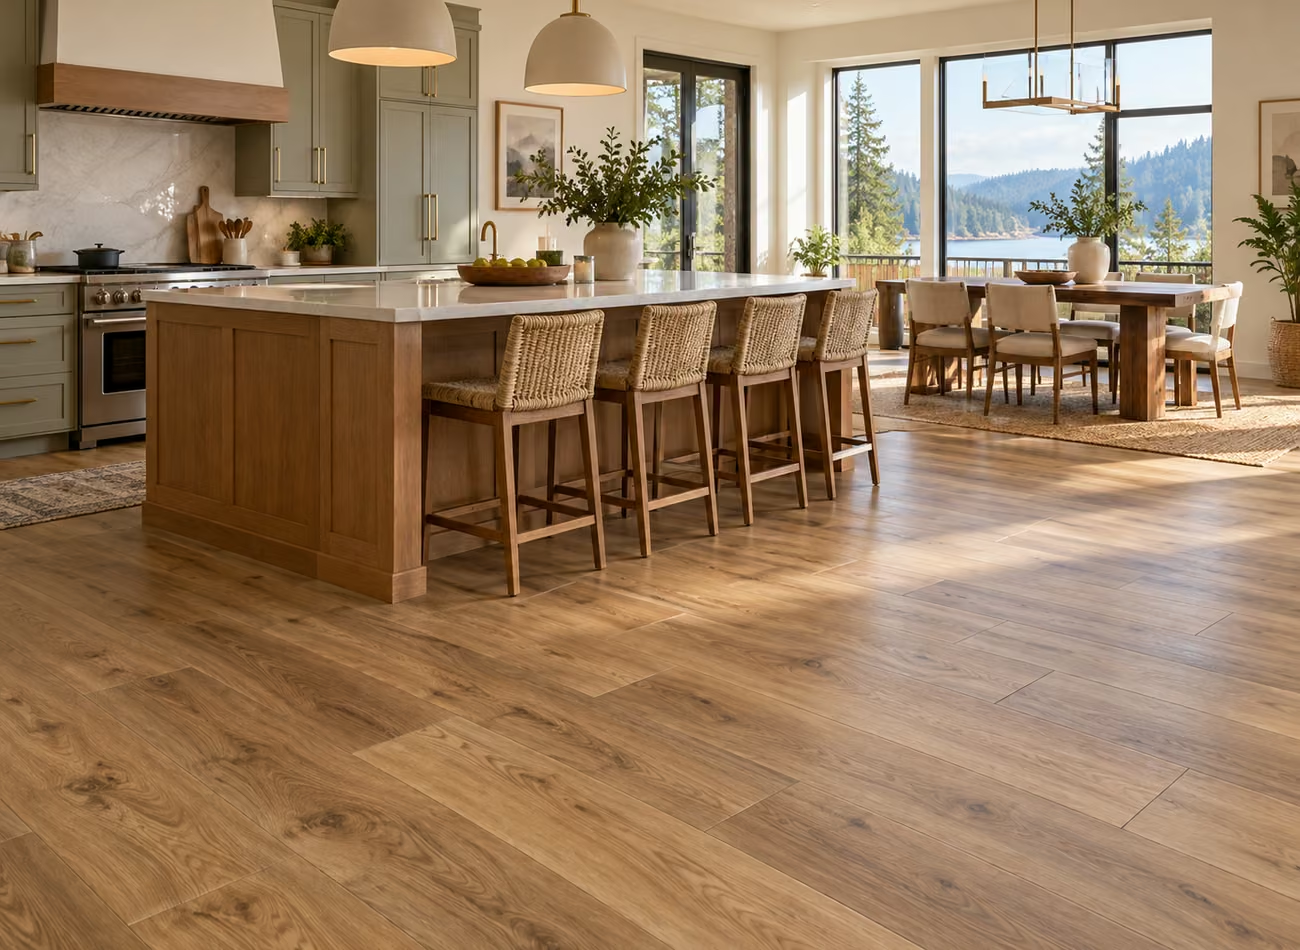
Explore LVP colors and textures in your own home.
Product information
Indoor Air Quality, VOCs and Installation Odor
When comparing LVP, ask for the exact product’s emissions certification and documentation for its pad and any adhesive. FloorScore certification evaluates specified VOC emissions; it does not mean zero emissions and does not certify that a product is phthalate-free. Check any phthalate claim separately with the manufacturer.
New flooring and installation products may have an odor. Review ventilation and return-to-use directions for the selected products, and tell us about odor concerns before materials are chosen. Floating floors avoid a full-spread flooring adhesive, while glue-down installations require an approved adhesive and its ventilation and curing instructions.
Installation details
What Pros Check Before Laying LVP
A good installation starts with the specific product instructions and a layout that suits your rooms.
Product readiness
We check the selected plank’s instructions for temperature, acclimation and underlayment requirements before work begins.
Balanced appearance
Where the product has varied wood-look patterns, we draw from multiple cartons and plan the layout so repeated patterns and narrow end cuts are less noticeable.
Protected joints
We use the fitting method and tools approved for the locking profile, including an appropriate tapping block where called for, so the joint and wear surface are protected.
From first visit to final detail
How Your LVP Project Works
01
Free in-home estimate
We measure rooms, closets, angled areas and any stairs, then inspect the existing floor. We review plank direction, doorway clearances and transitions. Material quantities include an allowance for the actual layout and cuts; stair treads, risers and nosing are assessed separately.
02
Choose your flooring
Compare samples in your own light. Review the product’s wear layer, room suitability, installation method and care requirements before ordering.
03
Detailed scope
Review materials, labor, removal, subfloor preparation and finishing details. Confirm furniture moving, room access, scheduling and any separately priced work.
04
Prepare the floor
Complete agreed removal and subfloor corrections. Check moisture, flatness, cleanliness and required underlayment before the new flooring is installed.
05
Professional installation
Follow the approved layout and joining method, maintain required clearances, and fit transitions, trim and stair details included in the scope.
06
Final walkthrough
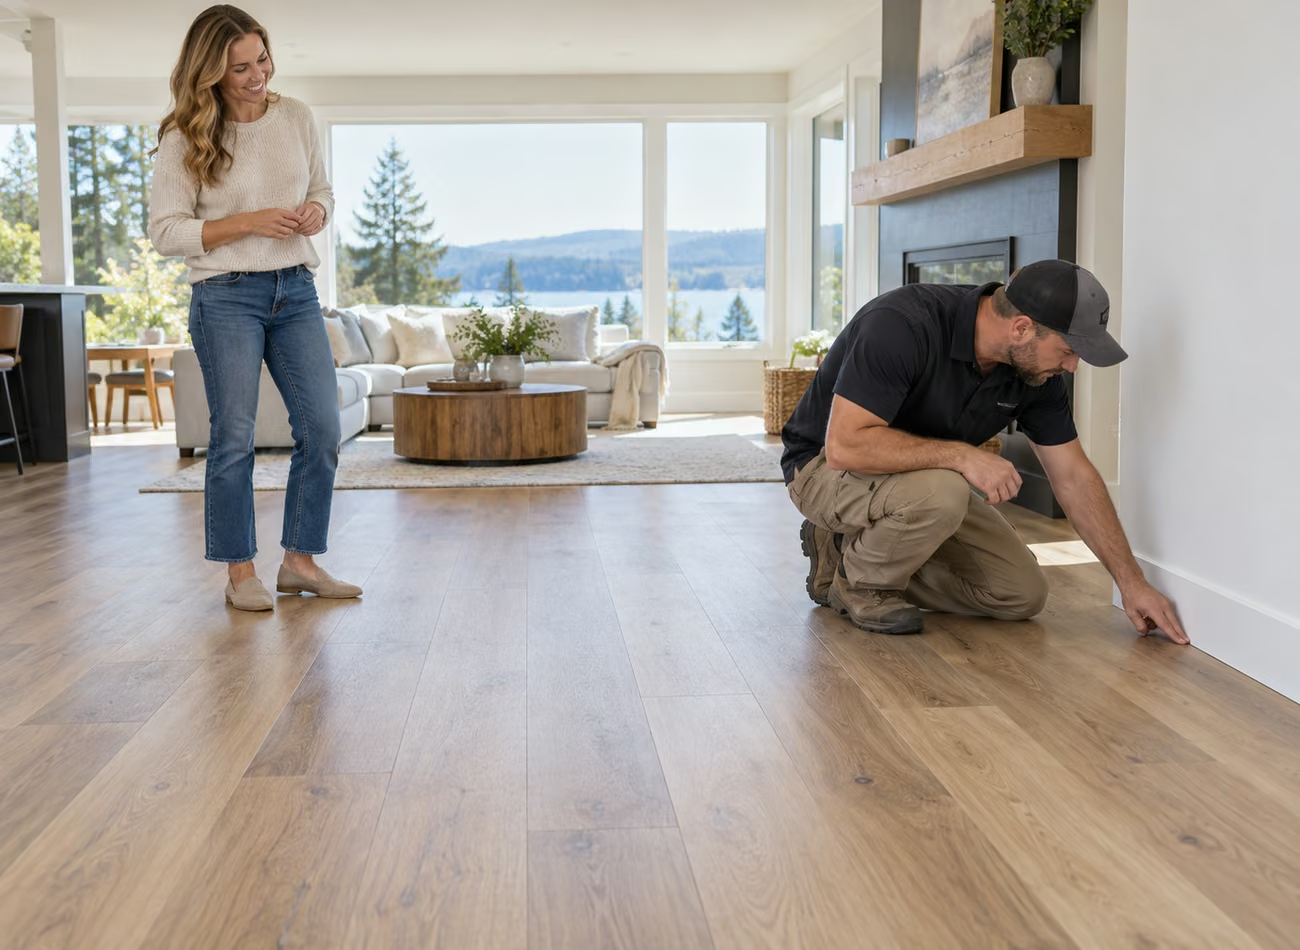
Review the floor, transitions and finished edges together. Confirm cleanup, product-specific return-to-use instructions and how to protect the floor when furniture returns.
Illustration of the final installation walkthrough.
See our work
Flooring Projects by Wills Flooring
Explore a selection from our flooring installation gallery. Ask us for examples of LVP projects and finishes during your in-home visit.
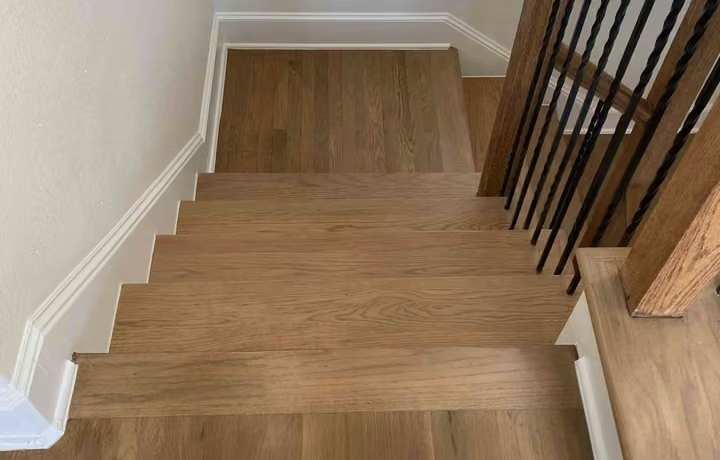
“We had our entire first floor and stairs replaced with LVP flooring, plus they had to remove carpet, level portions of our floor and build proper steps to code.”
Liz Bloomberg · Google review
“The quote was clear, materials, labor, removal, all broken out. Our vinyl plank flooring installation in the basement was done in one day.”
Joy Peters · Google review
“The install crew worked fast, didn't track mud everywhere, and the transitions between rooms look clean.”
Every home and product is different. Your price depends on the project size, existing floor removal, subfloor repairs, chosen LVP, stairs, transitions, trim and any furniture or appliance moving.
We measure your space and inspect the existing floor, then give you a written estimate that separates the work for your project.
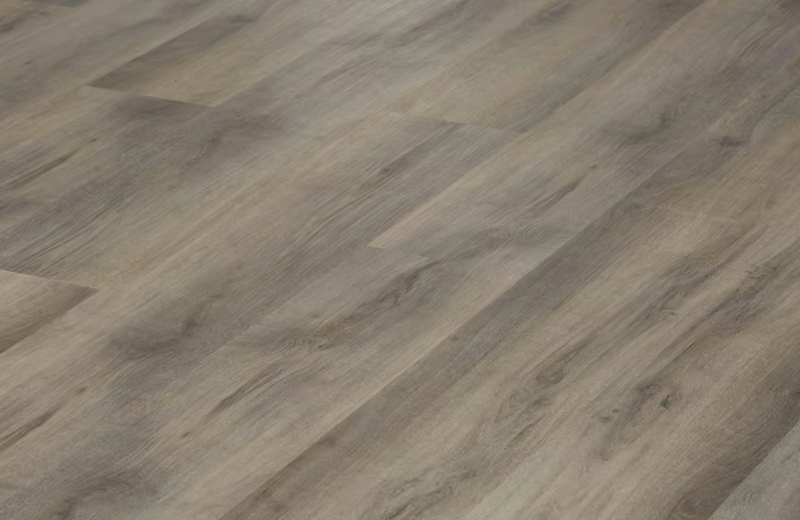
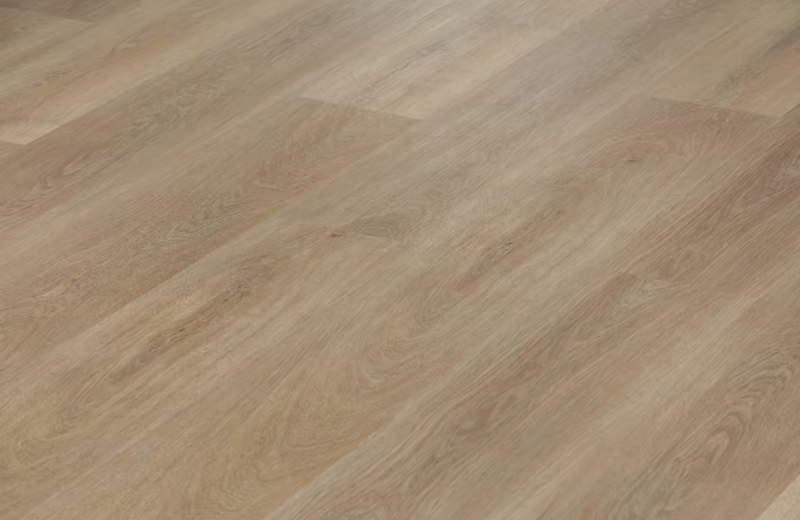
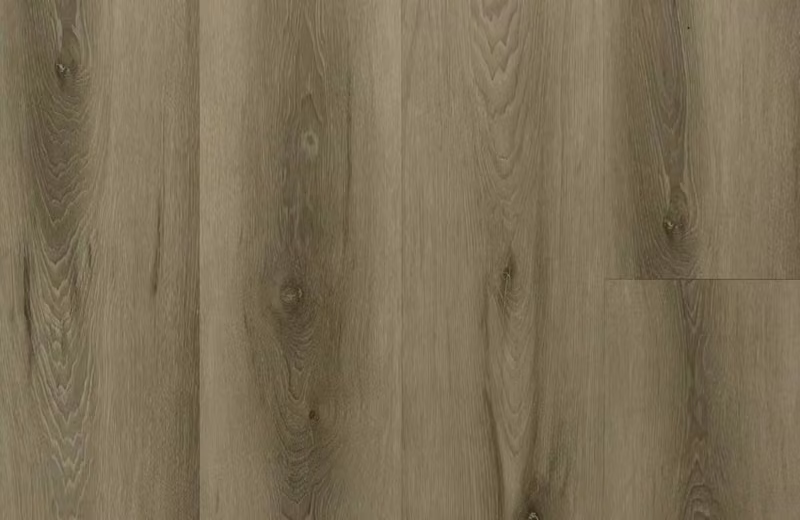
Here are a few LVP looks from our product catalog. We’ll compare samples and product suitability at your appointment.
Mountain MeadowModern OakCrestfield Rigid Core
LVP brand and product comparison
Compare exact collections rather than a brand name alone. These manufacturer examples show how specifications vary; ask us to confirm current availability, samples and installed pricing for your project.
Manufacturer examples — availability and pricing confirmed at your estimate
Compare with other Shaw collections; the brand also lists 6- and 12-mil products.
Price depends on the specific collection and the full project scope. Compare material, removal, preparation, installation and trim together when reviewing quotes.
Wear layer
Compare the wear layer in mils: 1 mil is one-thousandth of an inch, not 1 millimeter. Products are available with 6-, 12- and 20-mil layers, among other specifications. For active rooms or pets, compare a 20-mil option with the other suitable products in your budget. The surface finish, construction, approved use and warranty also matter; a thicker wear layer does not make a floor scratch-proof or dent-proof.
Water resistance
Consider exposure to spills and moisture, including the subfloor below.
Plank construction
Thickness and core design affect feel and product requirements.
Pad & underlayment
The right combination depends on the product and the existing floor.
Color & texture
See samples beside your walls and cabinetry in your own daylight.
We’ll help you compare options during your in-home appointment.
Common questions
LVP Installation FAQs
How long does LVP installation take?
For planning, a straightforward 1,000-square-foot project might follow a 2–4-workday installation schedule: removal and subfloor preparation first, plank installation next, then transitions, trim, cleanup and the walkthrough. This is an example, not a promised completion time. Repairs, stairs, occupied rooms and drying time can extend the work. Delivery and any required acclimation happen before installation; adhesive cure time can also delay furniture return. We confirm the schedule, room access and furniture plan after inspecting your home.
Can LVP be installed over existing flooring?
Sometimes, if the existing surface is suitable and the selected product permits it. We inspect the floor and follow the manufacturer’s instructions before recommending an approach.
How flat does my subfloor need to be?
Use the tolerance in the selected product’s installation guide. For example, Shaw’s Luxury Vinyl Angle/Angle SPC instructions specify 3/16 inch in 10 feet or 1/8 inch in 6 feet. This is a product-specific example, not a rule for every LVP. We check for high and low spots and explain the corrections needed; flatness and moisture are separate checks.
Is luxury vinyl plank waterproof?
Many LVP products have waterproof planks, but water can still reach seams, edges or the subfloor. We’ll help you select a product suited to the room.
Can LVP be installed over concrete?
Yes, when the slab is suitable and the product’s moisture and underlayment requirements are met. We assess the concrete during the estimate.
Do I need to move my furniture?
We’ll review furniture and appliance access with you before work starts and list any moving services in your written estimate.
Can you remove my existing carpet or flooring?
Yes. We can include removal and disposal in the scope after seeing the existing floor.
Do you bring flooring samples to my home?
Yes. We bring LVP samples so you can compare color and texture in your own light.
What areas do you serve?
We install LVP throughout King and Snohomish counties, including Seattle, Bellevue, Everett, Lynnwood, Edmonds and nearby cities.
Does LVP need to acclimate before installation?
Requirements vary. Some products require acclimation, while others do not when their stated conditions are met. Follow the exact product’s storage, temperature and humidity instructions, and keep the installation area within its required conditions. We confirm these requirements when planning delivery and installation.
What is the difference between floating and glue-down LVP?
Floating click-lock planks connect to one another without being bonded to the subfloor. Glue-down LVP uses a manufacturer-approved adhesive and installation procedure. The product, substrate and intended use determine which approach is permitted. Both need proper preparation; glue-down work also requires attention to adhesive compatibility and drying or curing instructions.
How are vinyl planks cut around doorways and walls?
The cutting method depends on the plank and shape of the cut. Some products allow score-and-snap straight cuts; other products or shaped cuts need a suitable cutter or saw. Cuts must leave the required clearance around fixed objects. Door jambs may be undercut so the finished edge fits beneath the casing without trapping a floating floor.
How much extra LVP should I order?
Start with the measured floor area, then add an allowance for cuts, layout and spare planks before rounding up to full cartons. For example, 500 square feet plus a 10% allowance equals 550 square feet. This is a calculation example; the right allowance depends on your rooms, plank size and installation pattern.
How are expansion gaps and transitions finished?
Baseboards or shoe molding can conceal perimeter gaps while allowing a floating floor to move. Transitions address doorways, changes in floor height or product-required breaks. Trim must not pin floating planks to the subfloor. We discuss compatible profiles, colors and any trim painting or finishing in the written scope.
Floating floors need the perimeter clearance specified by their manufacturer. Skipping it can cause pressure and movement as conditions change.
Covering an uneven subfloor
Low or high spots outside the selected product’s tolerance can stress locking joints. Check and correct the surface before installation.
Choosing the wrong underlayment
Extra padding or the wrong moisture barrier may conflict with a plank’s instructions, especially when it already has an attached pad. Confirm compatibility before ordering.
We review these requirements during the estimate and explain the preparation in your written scope.
Local service
LVP Installation Throughout King & Snohomish Counties
We bring LVP samples and professional installation to homes throughout the region.
“We had our entire first floor and stairs replaced with LVP flooring, plus they had to remove carpet, level portions of our floor and build proper steps to code.”
— Liz Bloomberg, customer review
Liz’s review highlights why flooring removal, preparation, stair details and transitions should be discussed along with the material choice. More customer experiences.
Ready for New Luxury Vinyl Plank Flooring?
Schedule a free in-home estimate. We’ll measure your space, assess the existing floor and help you compare LVP options for your home and budget.
Outstanding in every respect with a beautiful outcome. Highly recommend for hardwood floor refinishing.
★★★★★
These guys are it. Speed, quality, price. The HPL floors they have are super strong and awesome looking.
★★★★★
Wills Flooring is reliable and exceptional with scheduling and delivery. The product was superior to any other we found. They worked around our personal needs with great understanding and the work crew was professional and focused. The end result was a beautiful floor, quality workmanship all completed on our timeline.
★★★★★
I would highly recommend Wills Flooring! They were very easy to work with and accommodating when we had to move our installation date. We are very happy with their professionalism and the quality of the product. They replaced our entire first floor and stairs with LVP, removed carpet, leveled portions of the floor and built proper steps to code.
Book a Free In-Home Estimate
Schedule your free in-home estimate — we bring the samples to you.